by Michael Smith
Welcome to my tutorial for adding lightsaber glows in Paint Shop Pro.
My prior experience to doing this is.. well none existent. That's both the tutorial, and putting glows on Lightsabers whether it be in Adobe Photoshop or Jasc Paint Shop Pro. I'm using Paint Shop Pro version 7.04.
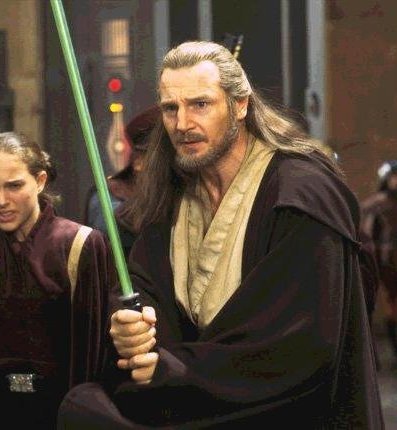
The picture I'm using for this tutorial, I got from the LIA website.
Here's the picture I'm going to use.
So here goes.
Once you have the image loaded, you want to select this  button
which is on the Tool Palette at the bottom.
button
which is on the Tool Palette at the bottom.
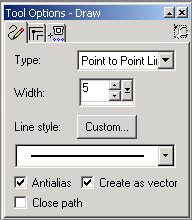
If you look in the Tool options window
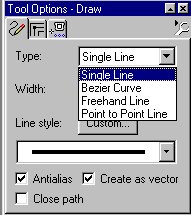
As you can see there are a selection of ways to Draw the white core. For the purpose of this tutorial I'll be using the Single Line. But I find the Point to Point line, which I personally find easier to use than the Single Line, But I'll leave that to your own preference.
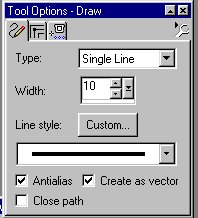
As you'll notice, I have the width set to 10, this is suitable for this picture.
Keep ticks in Antialias, and in Create as a Vector.
You need the tick in Check as a vector, because if its not, it'll just put the line on the background, not as a separate layer.
Now comes the real fun part, putting the line in for the core.
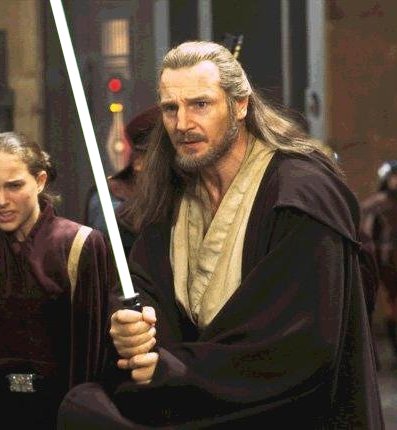
Places the cursor at the bottom of the rod, holding the left mouse button down, drag the cursor to the top of the picture or rod, pending on which is applicable, release the mouse button.
Now the rod should look something like this.
In the layers Palette, it should look like this
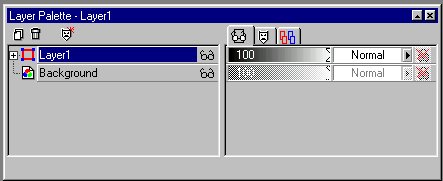
You need to change the Layer blend mode from Normal to Lighten, and to make easier to identify, I rename this layer to core.
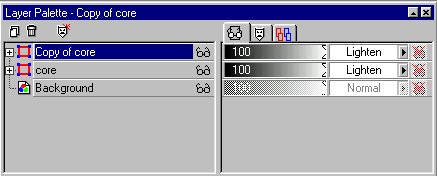
Next, you need to make a duplicate of this layer. You can either right click on the layer and select Duplicate. Or you can go up to the Layer menu, and select Duplicate.
So the Layer Palette should look like this know.
The next thing I suggest you do I that you right click on the core layer, and select Convert to Raster Layer, if you don't you won't be able to add the Gaussian Blur But leave the Copy of the core layer alone for the moment.
As you can see on the Copy of core layer, there a plus sign beside it, click on this so its looks like this
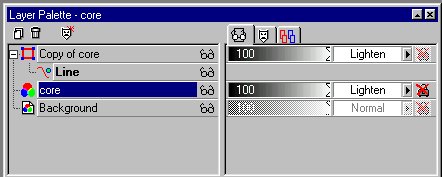
Select Copy of core, Right click on Line, select properties.
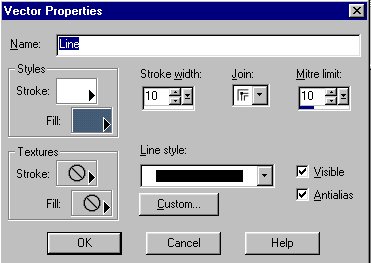
Click on Stroke, and select the color you wish the blade to be, then okay out of that window, and then okay out of the vector properties window
As you look at the image, you can't see the green line. If you hold the mouse cursor over the copy of the core layer it will show the image, and you'll see the green line.
Right click on the Copy of core layer and convert this to a Raster layer.
I rename this layer glow, so that I can easily identify which layer has what on it.
Now comes the best part, making the image look like a proper lightsaber.
Make sure the glow layer is at the top of layers.
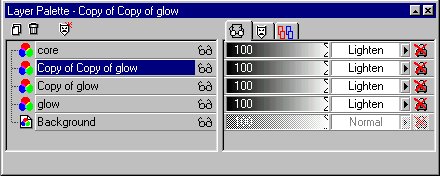
Next select the glow layer, and duplicate it twice, by either right click on the layer and selecting Duplicate, Or going to the layers menu, and selecting Duplicate.
So the layers Palette should look like this.
This next bit I've adapted from Ryan W video tutorial. I know this was in Adobe Photoshop, But the end result, looks just as good, well I think so anyway.
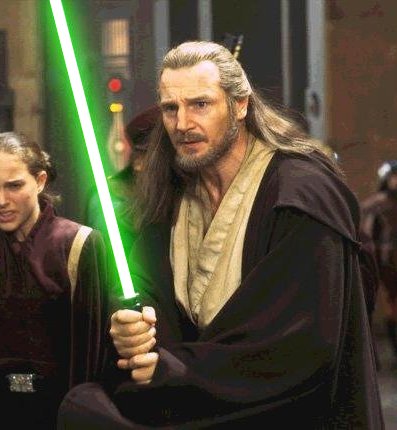
For each layer of the glow go up to Effect, blur, Gaussian Blur, for the the first layer, put a blur of 10 on it, and the image will look like this.

On the next layer apply a blur of 20.
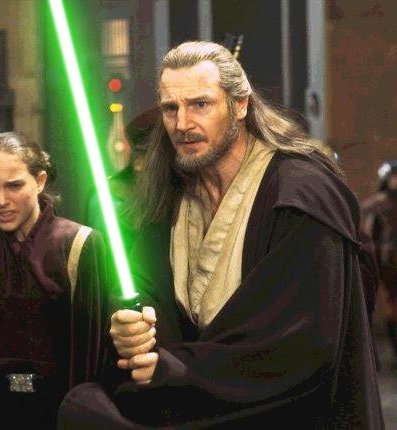
And then on the next, 30.

As you'll notice that the edges of the core are a little sharp. Easy to fix. Select the core layer, then go up to Effects, Blur, Gaussian Blur, for my picture, I've applied a blur of 2, its entirely up to you what level of blur you wish to apply here.

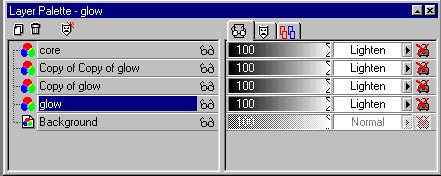
Below is how the Layers Palette should look.
Then all you need to do, is right click on one of the layers in the Layers Palette, and select Merge All (Flatten), then save in you chosen file format.
An there you go, you have one lightsaber glow done in Paint Shop Pro
ADDITIONAL NOTES:
I'm glad to be able to say that I've finally been able to rotoscope a clip in Paint Shop Pro. (Right Click on the image below to download the 900k Sorenson 3 file)

As you'll see from the footage, that I've done two different versions.
The top one, I had the blend set as in the above tutorial, and be honest, I wasn't happy with it. The bottom clip was done with the Blend left at normal, I personally prefer this one.
As you'll have noticed that in clip that point of the saber is rounded. I know I didn't cover this in the above tutorial, so here's how to do it, it's quite simple.
In the Line Draw Option, you want to press the custom button.
Doing so brings up this menu.
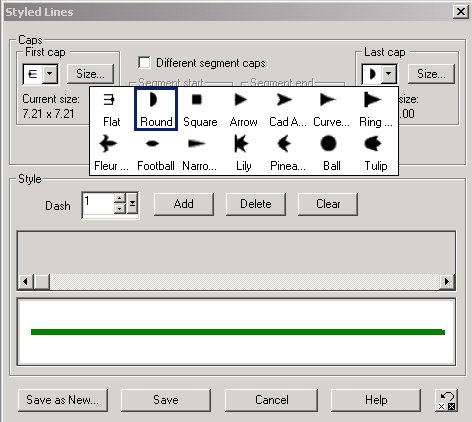
Click on Last cap and select Round from the menu
Then save as new.
And then all you need to do is draw the line onto the blade.
Please note as I said in the original tutorial, I've no prior experince of this doing this.
If any of you have seen the origingl clip this was taken from, there a bit missing, I know, and I've still yet to work out how to rotoscope those part, I'll add those wehn I have.
Let me know what you think by emailing feedback@sokar.org.uk
Thanks to JediToren, for helping with some problems I had. And to Ryan W, for producing the video tutorial which inspired me to have a go.

![[TFN FanFilms Now On YouTube.com]](/fanfilms/images/fanfilm-youtube.jpg)