Lasers in 3DS Max R3
By Darryl Roman
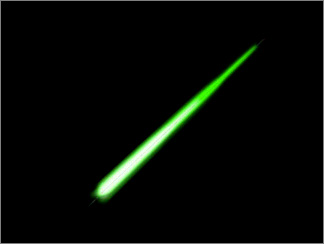
The first step is to load your image editing software, I prefer Photoshop 5.5. Create a
document with dimensions 1000x50. Fill it with a black background. Use your oval selection tool and additions to create an outer shape as below, use a color of your choice. Then duplicate the layer and scale it down to about 1/4 the size and center in the beam. Fill that layer with white. Flatten the image and use a Gausian Blur filter set to about
5.0. Finally save this image as laser_dif.gif.

Next convert this image to a greyscale image and save it as laser_op.gif. That's it for
Photoshop.
NOTE: It is easy to just take these image, go ahead if you like, but I would
strongly recommend gaining the experience of doing it yourself.

Now load 3DS Max R3. Create a QuadPatch of dimensions 10x0.25 (Note these are intentionally not the same dimensions as the images you created)
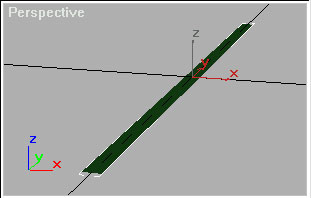
Hold shift and rotate the QuadPatch about its length axis about 60 degrees. Release the mouse and it should bring up a clone window. Select Reference and a quantity of 2. This should turn the flat QuadPatch into a six-limbed shape.
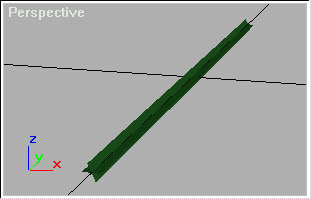
Now, select all three QuadPatches and open the Materials Editor. Click the Diffuse Map button and pick the laser_dif.gif. Rotate the map -90 degrees about the W axis.
Repeat this selection and angular rotation for all the maps shown below, and change the opacity 50%.
This completes the image for you. Render your image and see your results. Experiment some, maybe you'll end with something you like better.
I would like to thank Jon Stefanson for the 3DS Max R2.x tutorial which this is based upon.

![[TFN FanFilms Now On YouTube.com]](/fanfilms/images/fanfilm-youtube.jpg)